Manage a workflow
This article describes how to create, edit, and manage workflow definitions in KAIZEN using the Workflow Designer.
Create a new workflow definition
-
When you open the Workflow Designer for the first time, a popup appears with any existing saved definitions. Click Create to start designing your workflow.
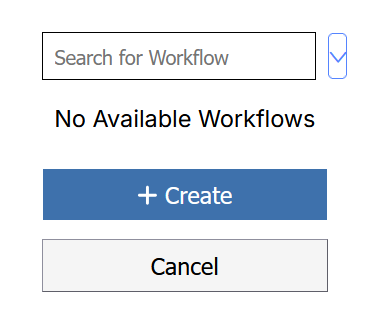
Alternatively, you can click the + sign at the bottom right.
-
Select the BPMN option for a business process model:
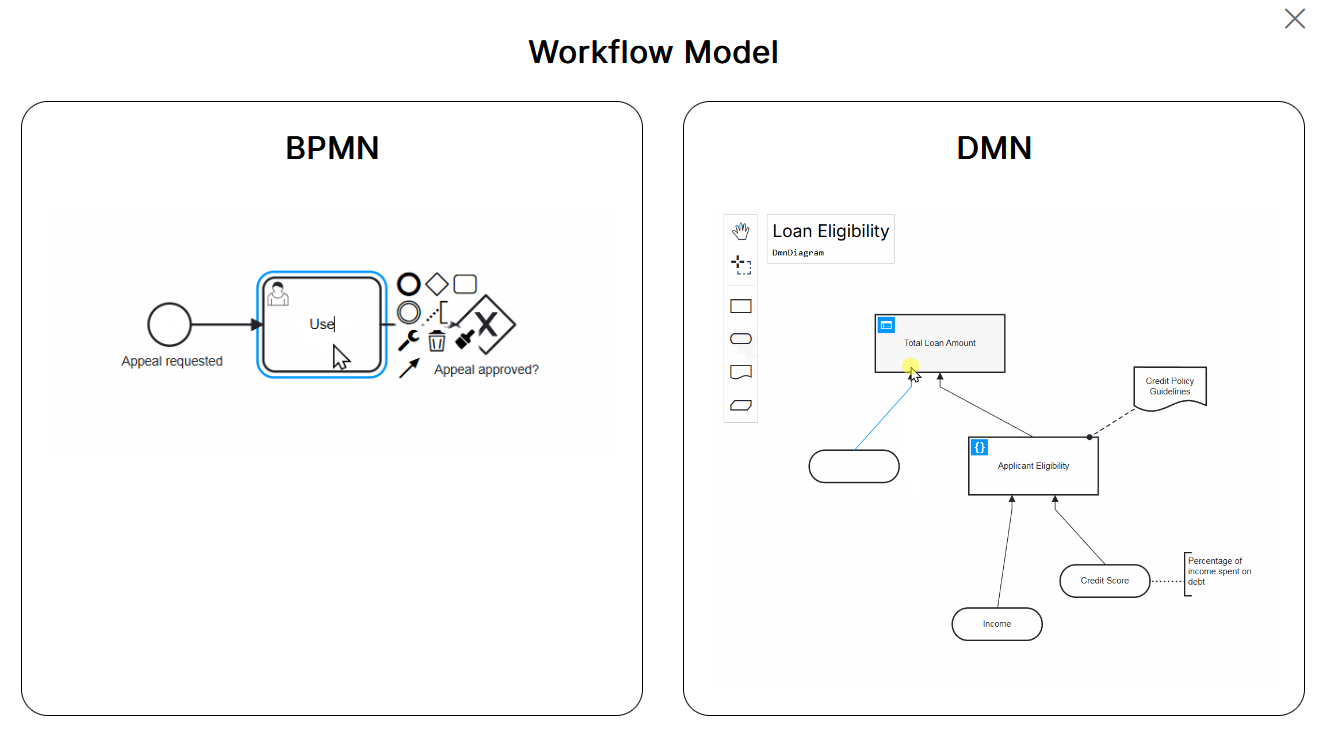
To design a decision model, select the DMN option instead.
-
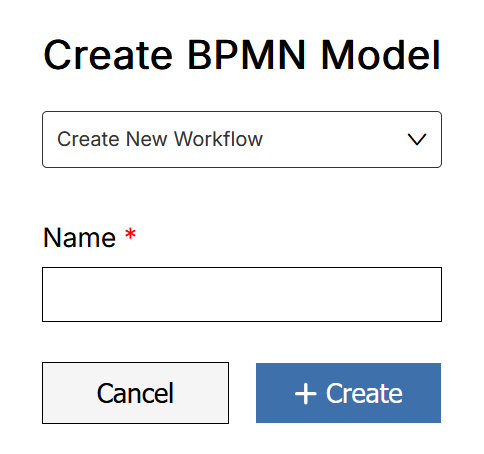
Select an option from the dropdown and enter the model name:
- Create New Workflow: Create a new workflow from scratch.
- Create From Template: Create a workflow based on a pre-defined template.
- Import Existing Workflow: Import a workflow that was previously exported.
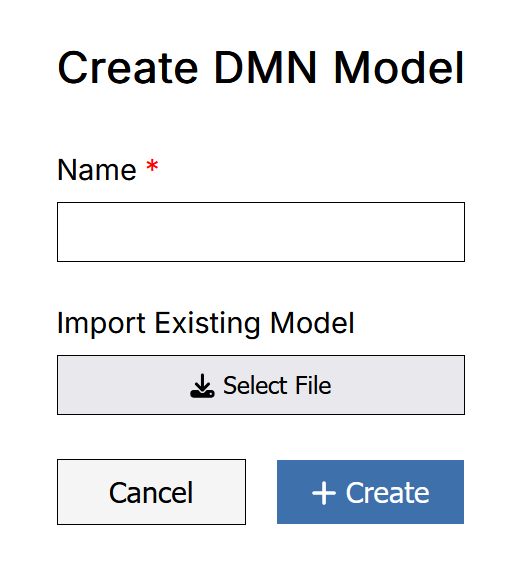
Similarly, to create a DMN model, enter the model name:
-
Click Create. A new tab appears in the bottom tab bar with the workflow definition name (for example,
NewProcess) and its first revision0.1:
-
Click the downward arrow as shown above, and then click Save.
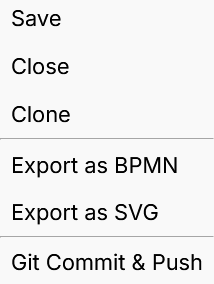
The workflow immediately becomes revision
0.2.
Edit an existing workflow definition
To edit an existing definition saved in KAIZEN:
-
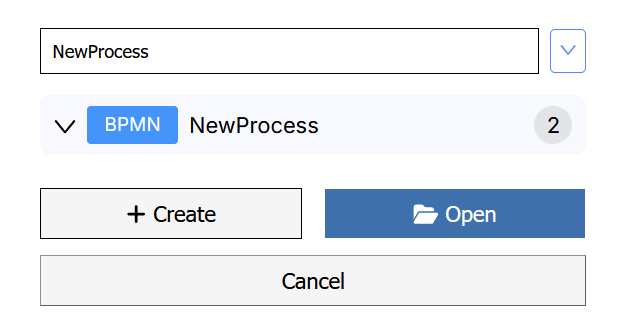
Select the workflow definition and click Open at the bottom right corner in Workflow Designer
-
Choose from the dropdown, which contains all the draft revisions of this workflow definition:
-
Make your changes to the diagram on canvas.
-
Click Save.
Import or export a workflow definition
You can export a workflow definition as a BPMN or DMN file and import it into a different project.
For more information, refer to Import or export a workflow.
Manage branches
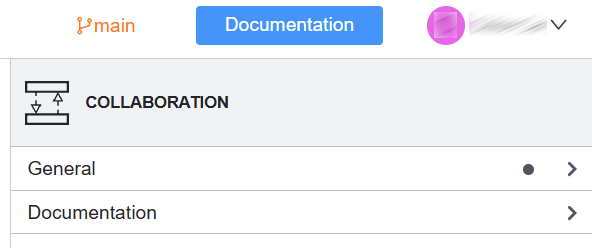
Workflow Designer supports branch-based version management at the project level. The active branch is displayed in the top-right of the header bar. Branching allows teams to develop and test workflow changes in isolation before merging them into a target branch.
New workflows can only be created in the currently active branch. Switch to the desired branch before creating a workflow.
Switch branch
-
Click the branch name in the top-right of the header bar to open the Branches panel.
-
Use the search field to filter branches by name, or browse the list.

-
Click the branch you want to switch to, then click Switch.
-
If you have made any changes to the workflow, a confirmation dialog will appear, asking if you have saved your work.
It shows the source and destination branch names.
noteThe confirmation dialog only provides a warning; your modifications will not be automatically saved. If you have already saved your changes before switching, the confirmation dialog will not appear and you will be able to switch branches directly.
-
If no changes have been made to the workflow, you will switch to the branch directly.
-
All open workflow tabs will be closed when you switch to another branch.
Create a branch
-
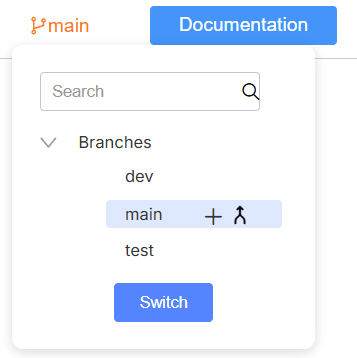
Click the branch name in the top-right of the header bar to open the Branches panel.
-
Click the + icon next to the branch you want to create from.
-
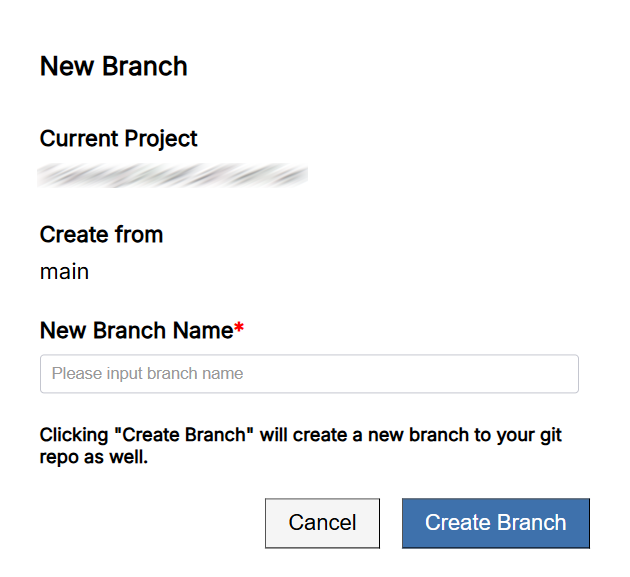
In the New Branch dialog, the Current Project and Create from fields are pre-filled. Enter a name in the New Branch Name field.
-
Click Create Branch.
The new branch is checked out from the selected branch's current revision. Revision numbering in the new branch starts from .1 — for example, branching from revision 0.7 creates revision 0.1 in the new branch. Workflow comments from the source branch are carried over. Creating a branch also creates the corresponding branch in your connected Git repository.
Merge a branch
To merge workflows from a source branch into the current active branch:
-
Click the branch name in the top-right of the header bar to open the Branches panel.
-
Click the switch icon next to the destination branch and switch to it, if you are not already on it.
-
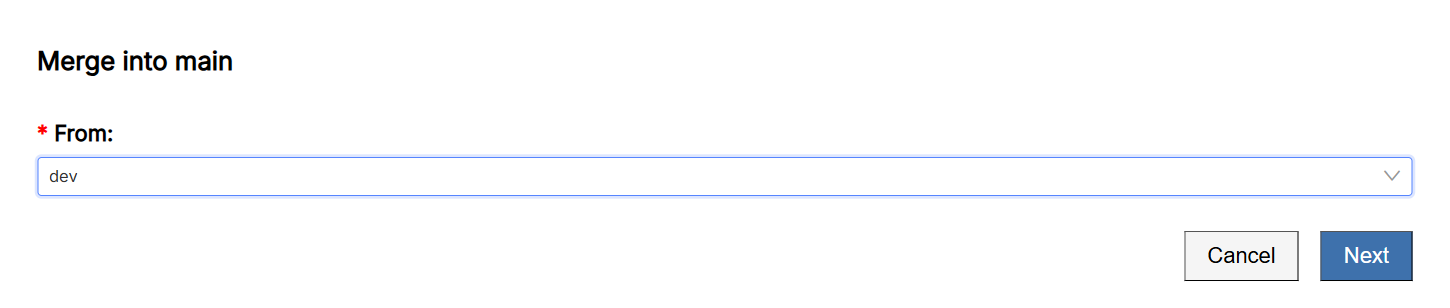
Initiate a merge. The Merge into [destination branch] dialog opens.
-
In the From dropdown, select the source branch you want to merge from, then click Next.
-
A side-by-side comparison view loads, showing the workflow definitions from the source branch (left) and the destination branch (right). Workflows that differ between branches are highlighted. A success message confirms that the difference retrieval was completed.
-
Review the changes, then click Merge to complete the merge, or Back to return to the previous step.
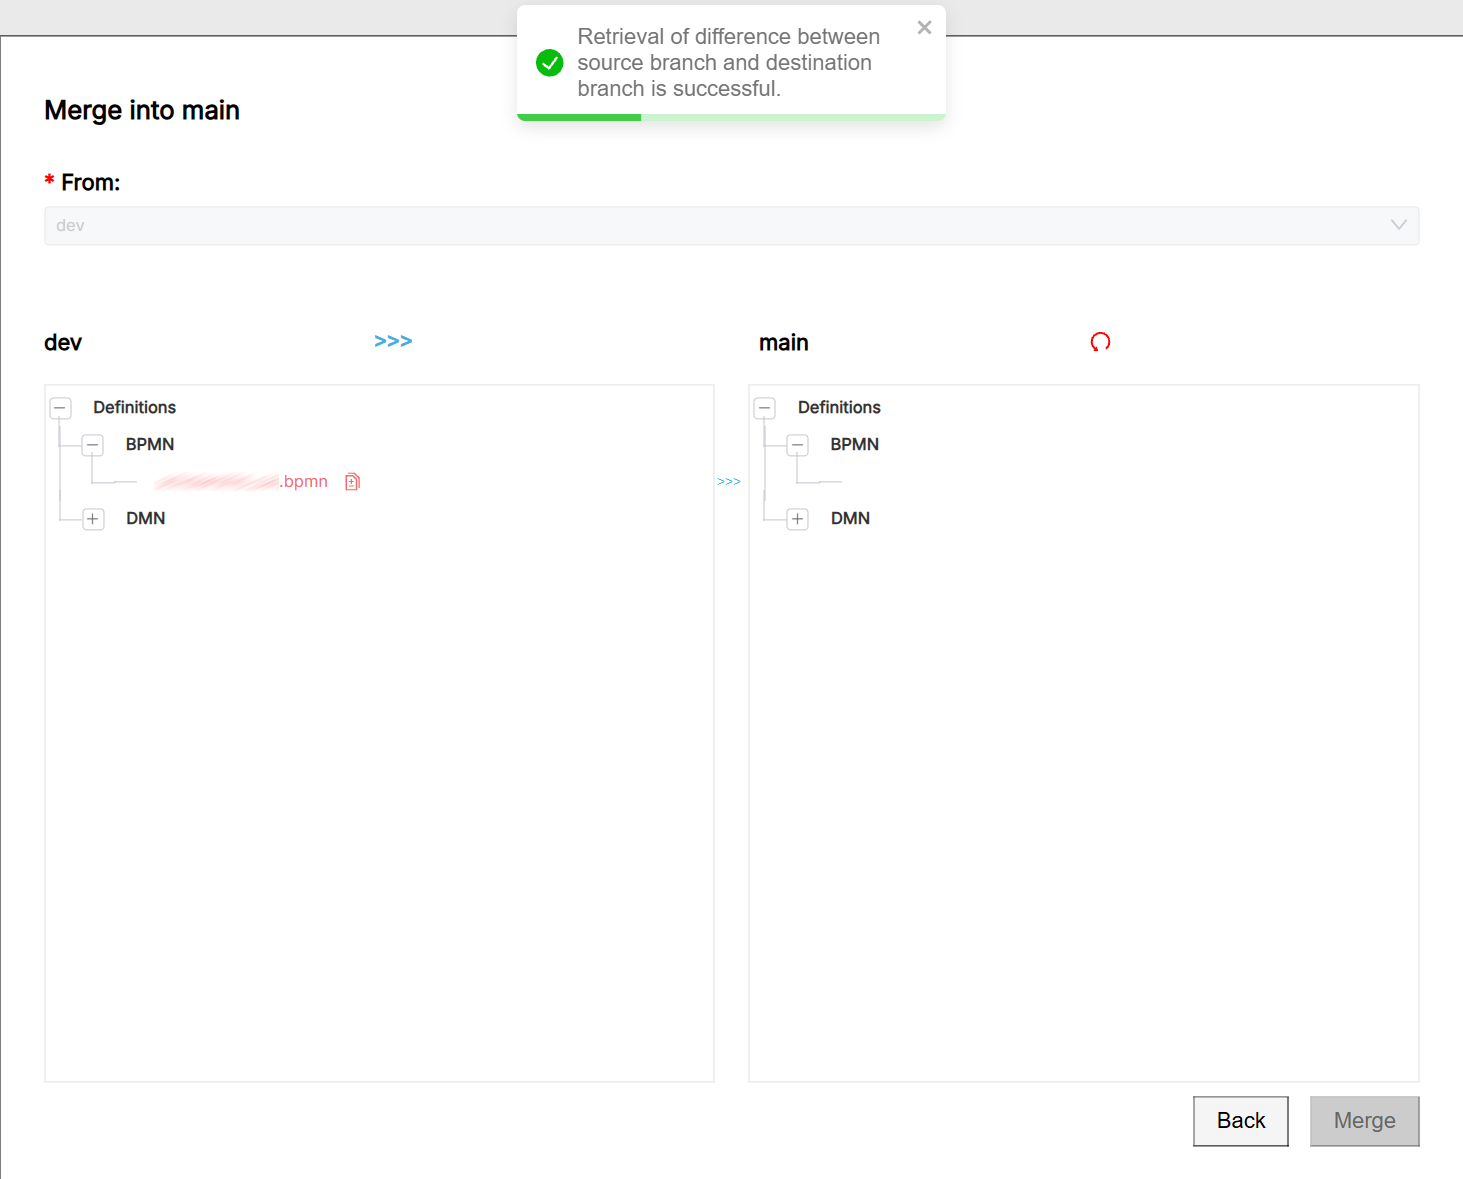
After a successful merge, a new revision is created in the destination branch. For example, merging a source branch at revision 0.7 into a destination branch at revision 0.4 creates revision 0.5 in the destination branch.
Git Commit & Push
When you have initialised your Git repository at the project level, the Git Commit & Push option will appear.
-
In Workflow Designer, open your BPMN or DMN file. From the dropdown menu at the bottom left corner, select Git Commit & Push.
-
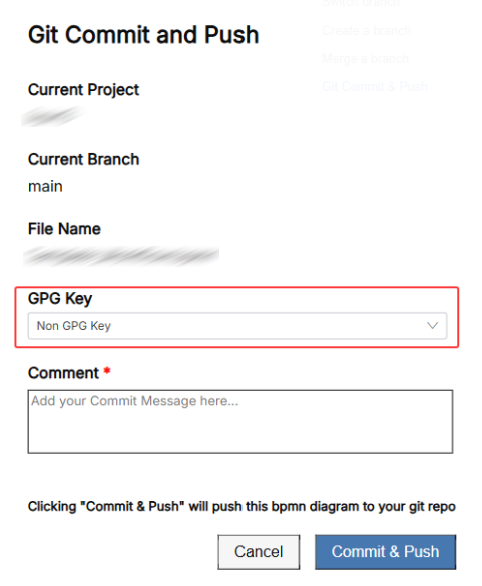
The Git Commit & Push window opens. Enter a comment to describe the changes.
-
Click the Commit & Push button to push the diagram to your repository.
Wait until a message pops up, saying "Git Commit and Push Successful".
Last updated on 20 May 2026