Use the Workflow Designer canvas
This article explains how to use the canvas in the Workflow Designer, including its design panel, designer tools, and view controls.
Workflow Designer canvas
A key concept in the Workflow Designer is the element. Diagrams (definitions) are composed of many parts called elements. The following example shows a workflow diagram:
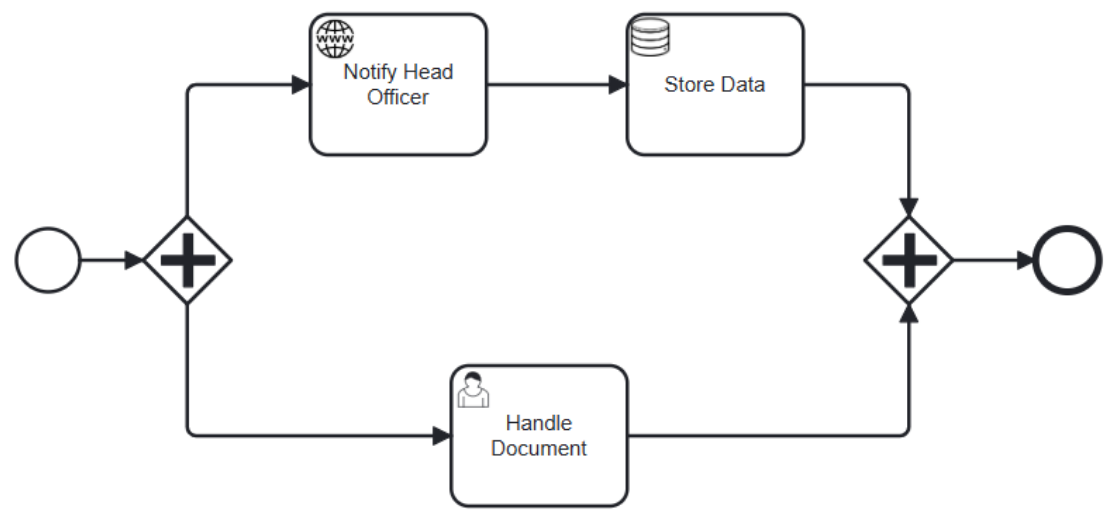
The circles, diamonds, boxes, and arrows are all elements of the workflow definition.
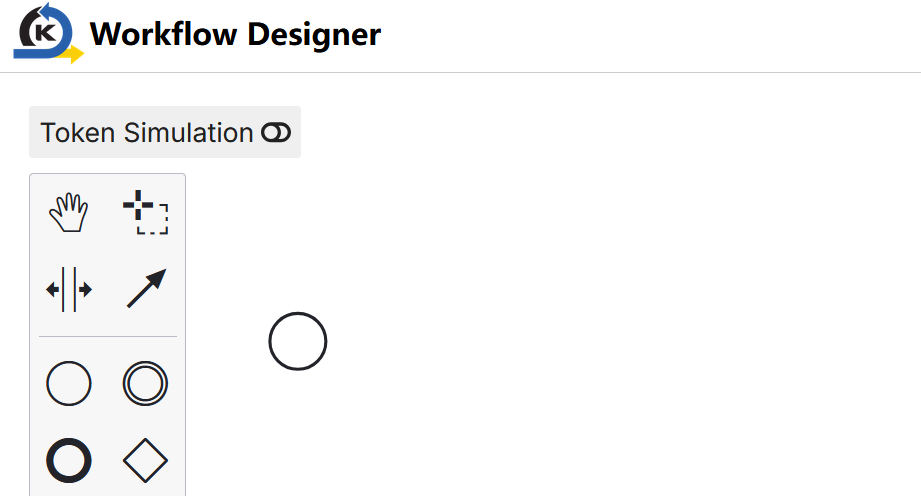
In a new diagram, the canvas is empty except for the Start Event element, which is the circle shown on the canvas. This element determines the starting point for the workflow:
Design panel
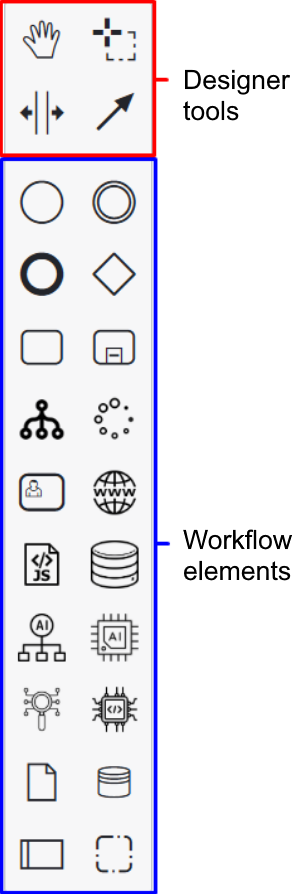
In the image below:
-
The items in the red box are designer tools, which help you create and navigate diagrams more easily.
-
The items in the blue box are workflow elements. To expand the diagram, drag and drop the elements onto the canvas.
Designer tools
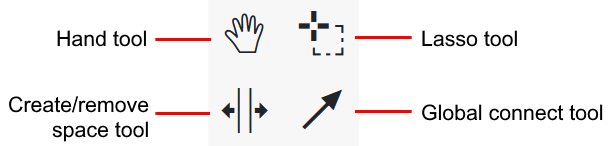
The top of the design panel provides four tools for interacting with the canvas:
-
Hand tool: Click and drag to pan around the canvas without selecting or moving any elements.
-
Lasso tool: Click and drag to draw a selection area around multiple elements so that you can move or modify them together.
-
Create/remove space tool: Click and drag to create or remove horizontal and vertical space between elements on the canvas.
-
Global connect tool: Click a source element and then click a target element to draw a sequence flow between them.
For all of these designer tools, you can press the Esc key at any time to stop using them.
View controls
On the top right of the canvas, the view controls help you navigate and manage the canvas:

-
Zoom to fit: Reset the view so that the diagram is centred on the canvas. If you lose track of your diagram after scrolling, use this to bring the view back to the centre.
-
Zoom in: Zoom in on the canvas.
-
Zoom out: Zoom out of the canvas.
-
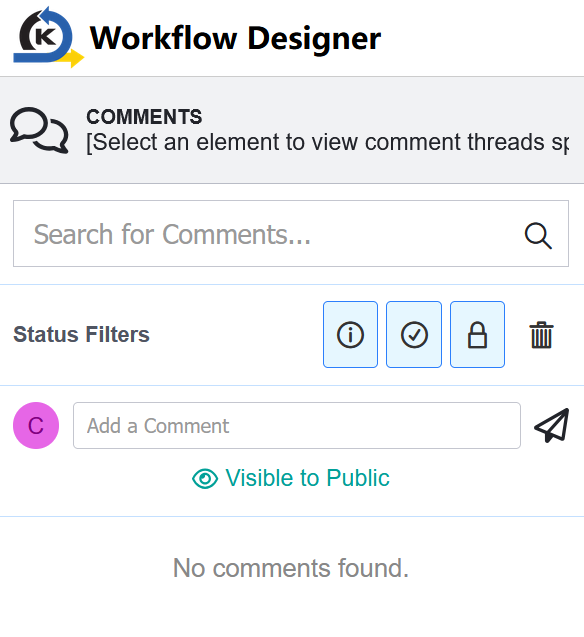
Toggle Workflow Comment Panel: Open or close the comment panel on the right side of the canvas.
You can perform the following actions:
- Add comments to the workflow in this panel.
- Click the links in the comments to view more information.
- Click the eye icon
 on a comment to toggle its visibility between Visible to Public and Visible to Internal.
 - Click the send icon
 to share the comment with other team members.
Last updated on 20 May 2026