Merge configurations
Merge Config allows you to merge configuration items from one branch into another. This is useful when you have made configuration changes on a development or feature branch and want to apply them to another branch.
Open the Merge Config window
There are two methods to open the Merge Config window:
-
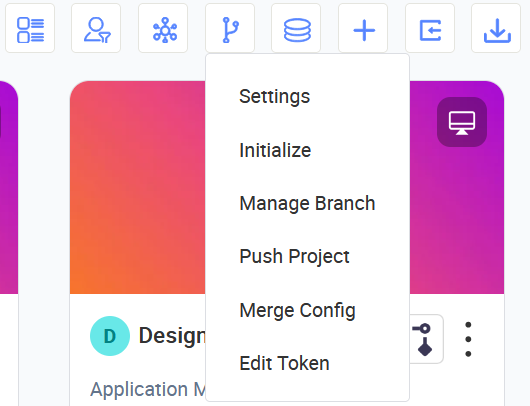
At the project toolbar, click the Git icon
 .
. -
Use one of the following methods:
- At the project toolbar
- From Manage Branch
From the dropdown menu, select Merge Config.
In the Merge Config window, select the target branch in the Merge Into dropdown and the source branch in the From dropdown. Both fields are required.
Click Next to proceed to the comparison view.
From the dropdown menu, select Manage Branch.
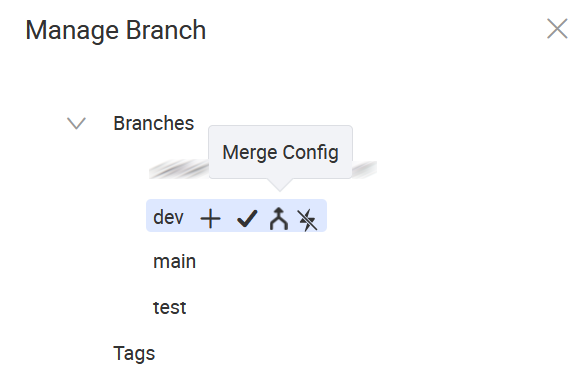
In the Manage Branch window, select the target branch and click the Merge Config icon.
The Merge Config Into... window opens with the target branch already set. Select the source branch in the From dropdown. This field is required.
Click Next to proceed to the comparison view.
-
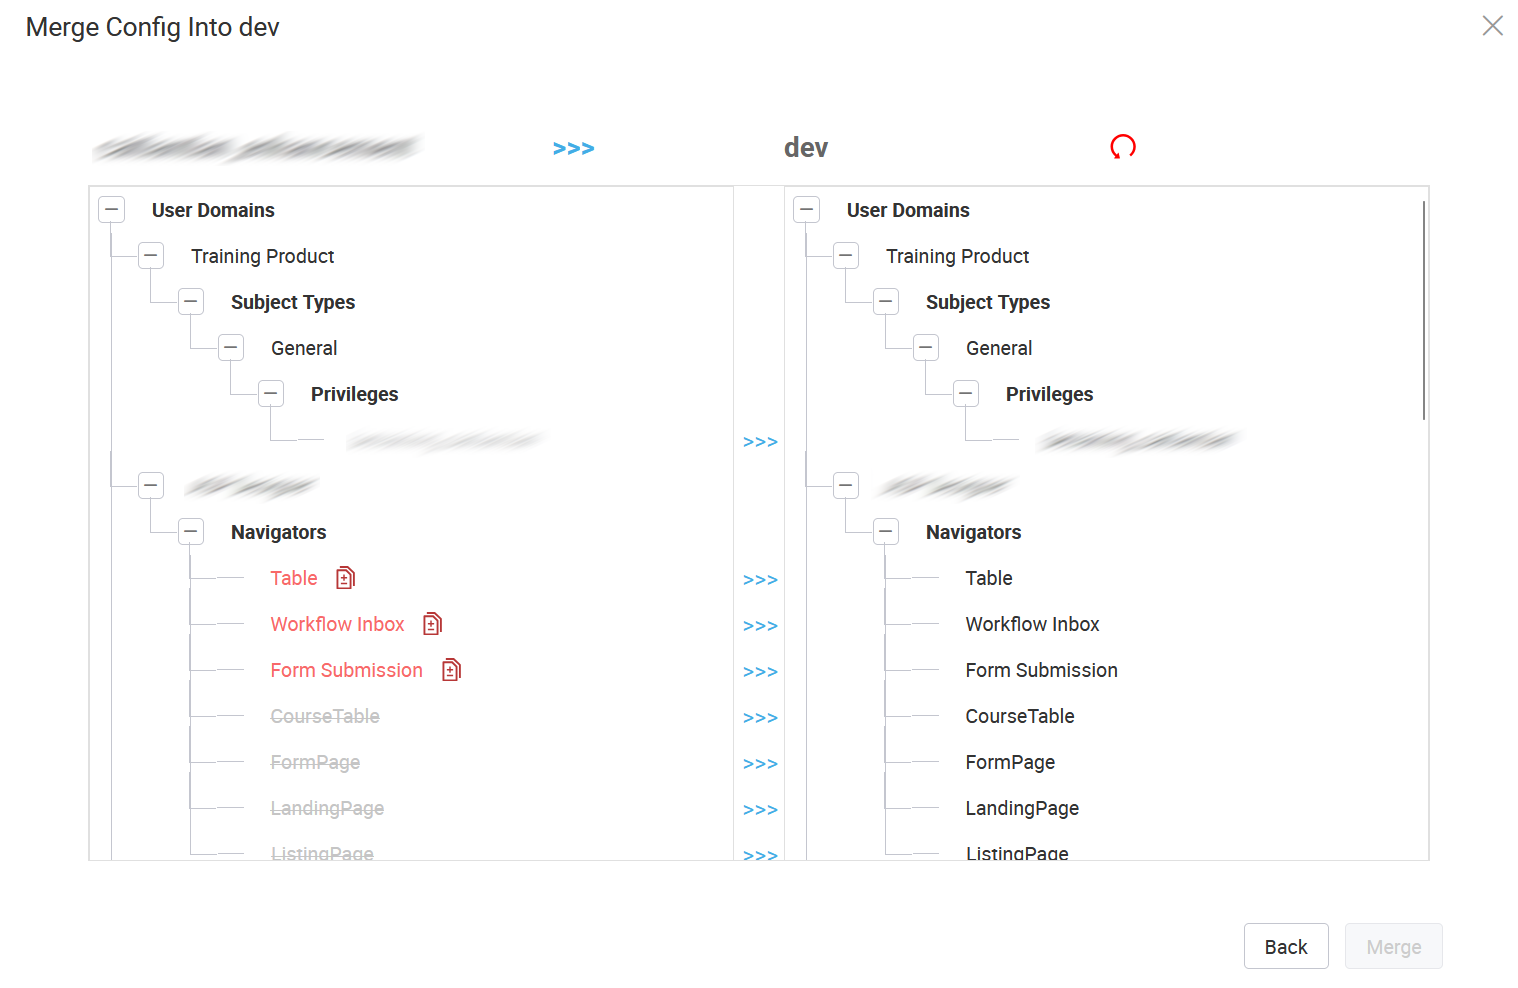
Review the configuration differences in the comparison view. The following shows an example:
-
Click Merge to apply the changes.
Comparison view
After clicking Next, a side-by-side comparison view is displayed. The source branch appears on the left and the target branch appears on the right.
The comparison view shows a tree structure of configuration categories such as User Domains, Navigators, Notification Templates, and Services. Items that differ between the two branches are highlighted:
- Items shown in red with a document icon on the source (left) side indicate changes that can be merged into the target branch.
- The >>> arrows between the two panels indicate the direction of the merge (from source to target).
- Items shown in grey on the source side are unchanged and will not be affected by the merge.
You can expand or collapse tree nodes to review specific configuration items before merging.
Actions
- Back: Returns to the branch selection step.
- Merge: Applies the configuration changes from the source branch to the target branch.
Last updated on 20 May 2026