Manage branches
Git branch management in KAIZEN is essential for maintaining an organised and efficient workflow. By creating separate branches for UI changes, such as theme updates, new features, or bug fixes, developers can isolate modifications, avoid conflicts, and ensure smooth collaboration across teams. This approach supports parallel development, minimises disruption to the main codebase, and allows for better testing and integration of updates, which will enhance project quality and stability.
In KAIZEN, you can perform the following branch management actions:
- Create new branches to work on features or bug fixes in isolation without affecting the main codebase.
- Switch branches to change the current working branch to a different one.
- Merge branches to integrate changes from a feature branch into another branch.
Pushing generated code to target applications that do not have a matching branch is disabled. Make sure you are on the correct active branch before pushing code.
Create a new branch
Creating a new branch allows you to work on feature enhancements or bug fixes without affecting the stable main codebase that other team members may rely on.
At the frontend
To create a new branch, perform the following:
-
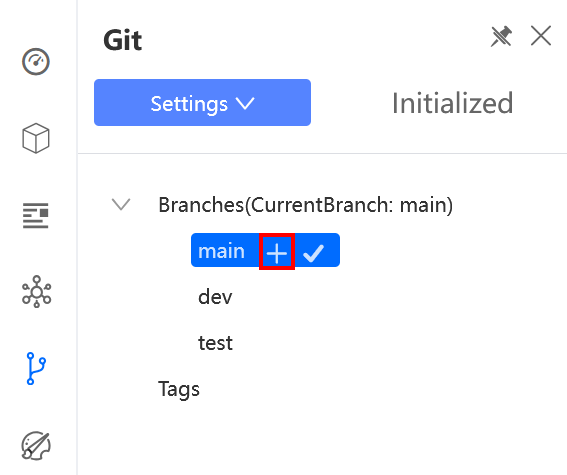
In App Designer, click the Git icon
 on the left to open the Git panel.
 -
Click the + sign next to the branch list, then click New Branch.
-
In the pop-up window, enter the following details:
-
Branch Name: Select the branch from the dropdown.
-
Revision Basis: Select Latest Revision to create the branch from the most recent version, or Latest Published Revision to create from the last officially published version.

-
-
Click Save. The new branch will be created.
If a branch with the same name already exists, KAIZEN will flag the branch has been created. You need to enter another name.
At the backend
To create a new branch, perform the following:
-
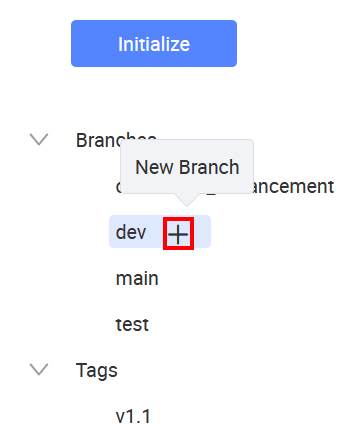
In Service Designer, click the Git icon
on your service. -
On the right, click the + sign next to the branch list for a new branch.
-
In the pop-up window, enter the following details:
- Branch Name: A descriptive name for the branch (e.g.,
dev).
- Branch Name: A descriptive name for the branch (e.g.,
-
Click Save. The new branch will be created.
Switch branches
Switching branches in KAIZEN is a personal setting and is tied to individual users. If another project member switches branches, it will not be reflected on your application.
At the frontend
To switch the branch, you can use either the App Designer or the Studio Console.
From App Designer:
-
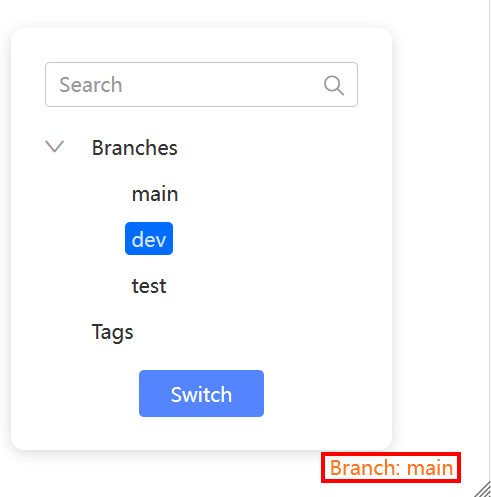
Click the Resources icon on the top left. The Resources panel opens.
-
In the bottom left corner, select the new branch and click Switch.
From Studio Console:
-
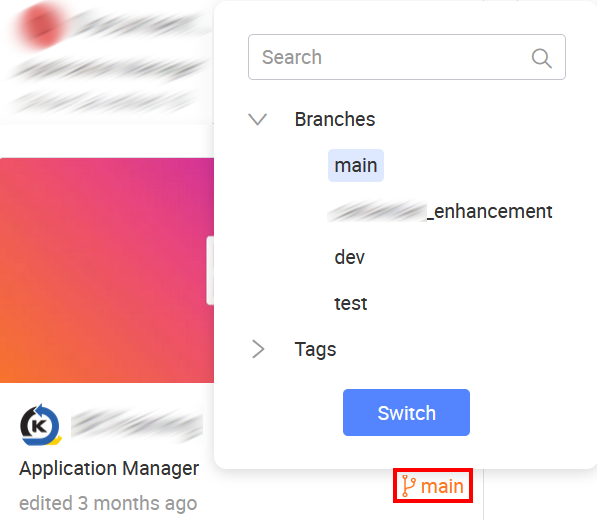
In KAIZEN studio console, click the branch at the bottom right of your application.
-
Select the branch from the dropdown and click Switch.
At the backend
To switch the branch, perform the following:
-
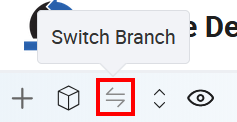
In Service Designer, click Switch branch on the toolbar.
-
Select the branch from the dropdown for each service and click Apply.
Merge branches
Merging a completed feature branch back into the main branch integrates the new feature's code into the main codebase, making it part of the official project.
At the frontend
In App Designer, merging a branch includes application properties such as the app name, type, logo, favicon, micro application selections, and navigator configuration.
Before merging, make sure the following conditions are met in the target branch, otherwise the merge will be blocked with an error:
- All user domains referenced in the source branch must exist in the target branch.
- All micro applications referenced in the source branch must exist in the target branch.
Theme changes are excluded from the merge diff for Main App and mobile app types.
To merge a branch in App Designer, perform the following:
-
Switch to the target branch: In App Designer, switch to the branch you want to merge into (e.g.,
main). -
Open the merge window: On the application card, click the three-dot icon and select Merge.
-
Select the source branch: In the merge window, select the feature branch that contains the changes to merge.
-
Review changes: KAIZEN displays a visual comparison of the changes across pages, assets, and application properties. Click the arrows to accept the changes to bring into the target branch.
-
Confirm the merge: After reviewing the differences and accepting the changes, click Merge to complete the process.
At the backend
To merge a branch in Service Designer, perform the following:
-
Switch to the target branch: In Service Designer, switch the view to the branch to merge into (e.g.,
main).
-
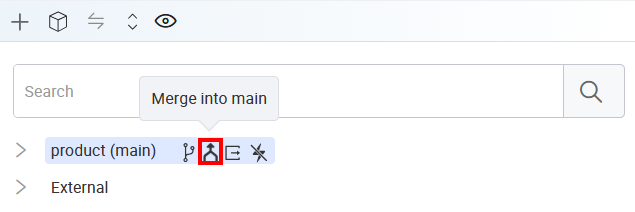
Open the merge window: Select the service and click the Merge icon.
-
Select the source branch: On the right, select the feature branch that contains the changes to merge (e.g.,
enhancement). -
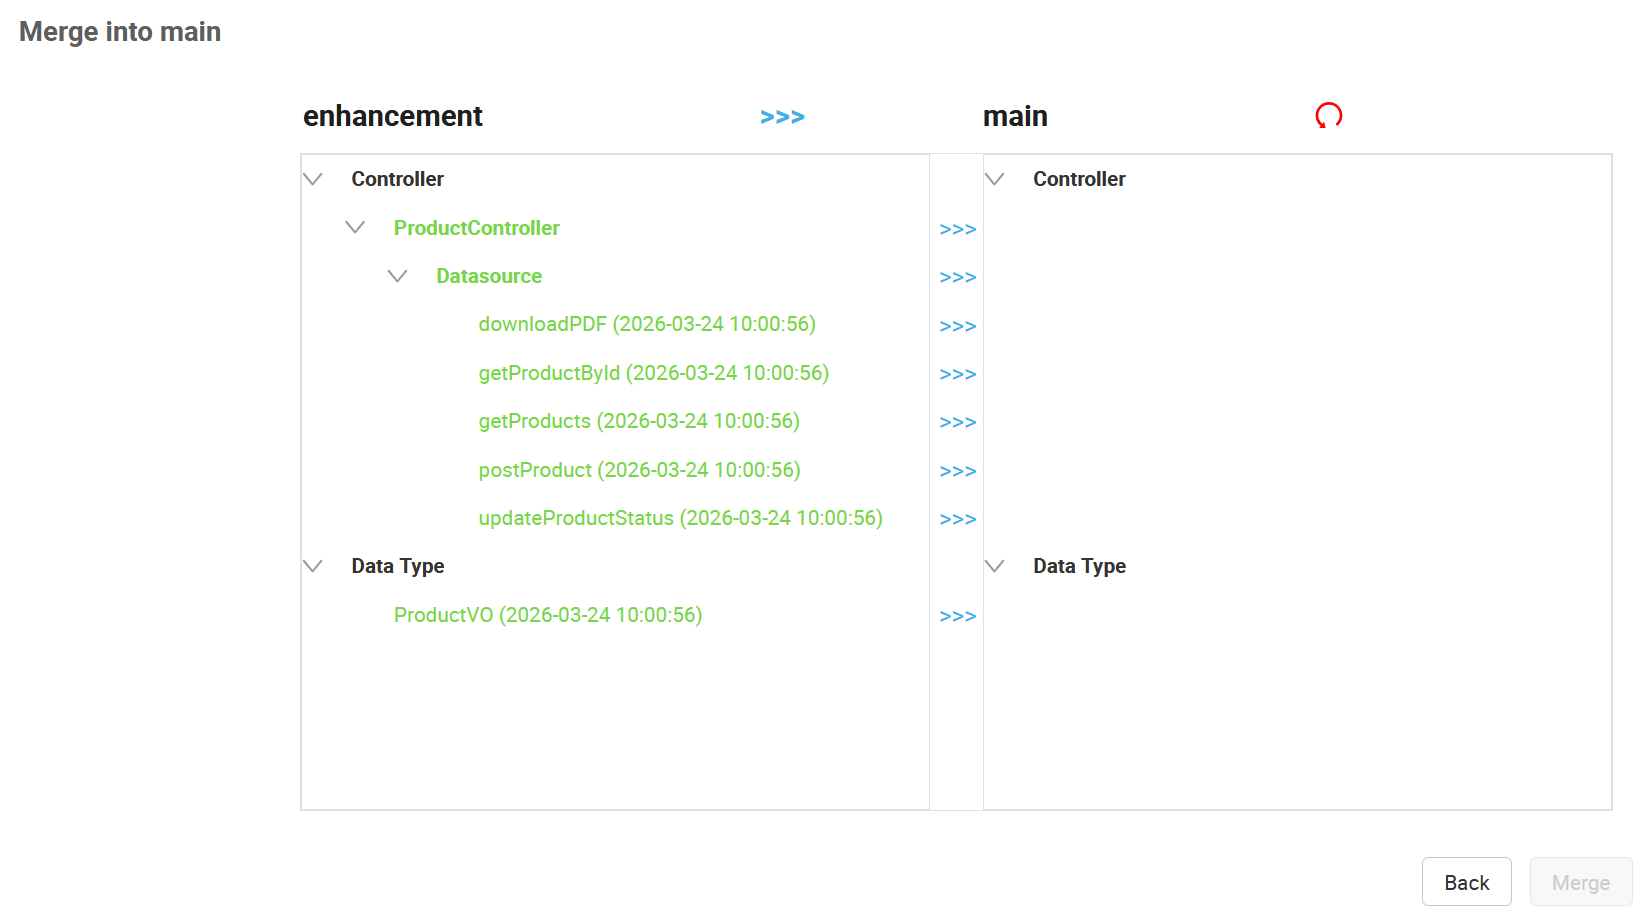
Review and accept changes: KAIZEN will display a visual comparison of the changes.
- Green indicates new additions.
- Red indicates changes to existing lines in the code.
Click the blue arrows to accept the changes to bring into the target branch.
-
Confirm the merge: After reviewing the differences and accepting the changes, click the final Merge button to complete the process.
Last updated on 20 May 2026